
KingKelly
-
Posts
18 -
Joined
-
Last visited


KingKelly's Achievements
Draft Pick (1/10)
-
 Excellent work.
 -
Version 2.2
69 downloads
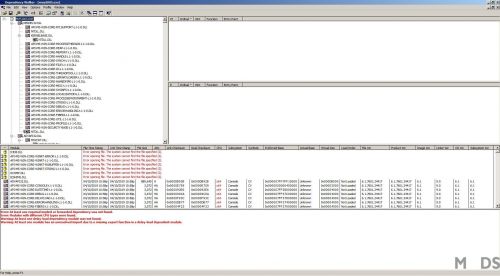
Dependency Walker is a free utility that scans any 32-bit or 64-bit Windows module (exe, dll, ocx, sys, etc.) and builds a hierarchical tree diagram of all dependent modules. For each module found, it lists all the functions that are exported by that module, and which of those functions are actually being called by other modules. Another view displays the minimum set of required files, along with detailed information about each file including a full path to the file, base address, version numbers, machine type, debug information, and more. Dependency Walker is also very useful for troubleshooting system errors related to loading and executing modules. Dependency Walker detects many common application problems such as missing modules, invalid modules, import/export mismatches, circular dependency errors, mismatched machine types of modules, and module initialization failures. Dependency Walker runs on Windows 95, 98, Me, NT, 2000, XP, 2003, Vista, 7, and 8. It can process any 32-bit or 64-bit Windows module, including ones designed for Windows CE. It can be run as graphical application or as a console application. Dependency Walker handles all types of module dependencies, including implicit, explicit (dynamic / runtime), forwarded, delay-loaded, and injected. A detailed help is included. Dependency Walker is completely free to use. However, you may not profit from the distribution of it, nor may you bundle it with another product. Both x86 and x64 versions are included. http://dependencywalker.com/ -
Version 1.0
73 downloads
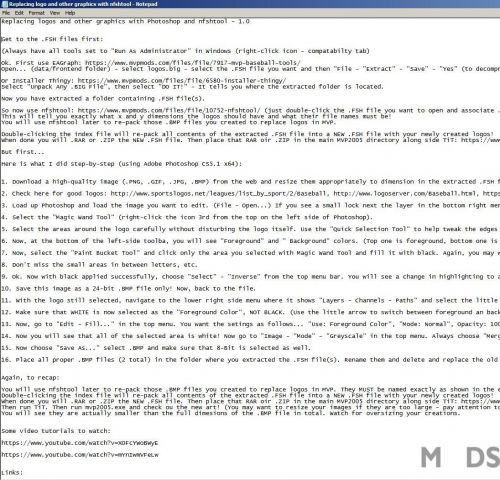
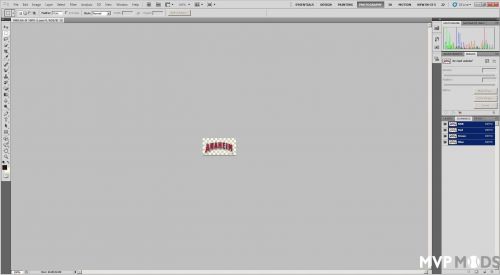
Replacing Logos and Other Graphics with Photoshop and nfshtool - v 1.0 Get to the .FSH files first: (Always have all tools set to "Run As Administrator" in Windows (right-click icon - compatabilty tab) Ok. First use EAGraph: https://www.mvpmods.com/files/file/7917-mvp-baseball-tools/ Open... (data/frontend folder) - select logos.big - select the .FSH file you want and then "File - "Extract" - "Save" - "Yes" (to decompress). Or Installer Thingy: https://www.mvpmods.com/files/file/6580-installer-thingy/ Select "Unpack Any .BIG File", then select "DO IT!" - It tells you where the extracted folder is located. Now you have extracted a folder containing .FSH file(s). So now use nfshtool: https://www.mvpmods.com/files/file/10752-nfshtool/ (just double-click the .FSH file you want to open and associate .FSH files with nfshtool.exe) to extract what is INSIDE the .FSH file. This will tell you exactly what x and y dimensions the logos should have and what their file names must be! You will use nfshtool later to re-pack those .BMP files you created to replace logos in MVP. Double-clicking the index file will re-pack all contents of the extracted .FSH file into a NEW .FSH file with your newly created logos! When done you will .RAR or .ZIP the NEW .FSH file. Then place that RAR oir .ZIP in the main MVP2005 directory along side TiT: https://www.mvpmods.com/files/file/6581-total-installer-thingy/ But first... Here is what I did step-by-step (using Adobe Photoshop CS5.1 x64): 1. Download a high-quality image (.PNG, .GIF, .JPG, .BMP) from the web and resize them appropriately to dimension in the extracted .FSH file(s): 2. Check here for good logos: http://www.sportslogos.net/leagues/list_by_sport/2/Baseball, http://www.logoserver.com/Baseball.html, https://www.google.com/imghp?hl=en&tab=wi 3. Load up Photoshop and load the image you want to edit. (File - Open...) If you see a small lock next the layer in the bottom right menu, double click and select "OK" to remove it! You now have "Layer 0". 4. Select the "Magic Wand Tool" (right-click the icon 3rd from the top on the left side of Photoshop). 5. Select the areas around the logo carefully without disturbing the logo itself. Use the "Quick Selection Tool" to help tweak the edges if you need to, it is located in the same place as the "Magic Wand Tool". 6. Now, at the bottom of the left-side toolba, you will see "Foreground" and " Background" colors. (Top one is foreground, bottom one is background). Make sure that foreground is set to black, R=0 ,B= 0, G= 0. 7. Now, select the "Paint Bucket Tool" and click only the area you selected with Magic Wand Tool and fill it with black. Again, you may want or need to make use of "Zoom In/Out" or "Pencil Tool to tweak it to a finished look. 8. Don't miss the small areas in between letters, etc. 9. Ok. Now with black applied successfully, choose "Select" - "Inverse" from the top menu bar. You will see a change in highlighting to around the logo itself! 10. Save this image as a 24-bit .BMP file only! Now, back to the file. 11. With the logo still selected, navigate to the lower right side menu where it shows "Layers - Channels - Paths" and select the little menu icon next to the word "Paths" and select "New Layer..." Highlight this new layer. 12. Make sure that WHITE is now selected as the "Foreground Color", NOT BLACK. (Use the little arrow to switch between foreground an background colors). Do NOT apply white, just switch to it. 13. Now, go to "Edit - Fill..." in the top menu. You want the setings as follows... "Use: Foreground Color", "Mode: Normal", Opacity: 100%", Preserve Transparency (Unchecked). Click "OK". 14. Now you will see that all of the selected area is white! Now go to "Image - "Mode" - "Greyscale" in the top menu. Always choose "Merge" if asked, and always choose "Discard" when asked. 15. Now choose "Save As..." select .BMP and make sure that 8-Bit is selected as well. 16. Place all proper .BMP files (2 total) in the folder where you extracted the .FSH file(s). Rename them and delete and replace the old ones. Again, to recap: You will use nfshtool later to re-pack those .BMP files you created to replace logos in MVP. They MUST be named exactly as shown in the extracted .FSH file(s)! Double-clicking the index file will re-pack all contents of the extracted .FSH file into a NEW .FSH file with your newly created logos! When done you will .RAR or .ZIP the NEW .FSH file. Then place that RAR oir .ZIP in the main MVP2005 directory along side TiT: https://www.mvpmods.com/files/file/6581-total-installer-thingy/ and the mvp2005.exe file. Then run TiT. Then run mvp2005.exe and check ou the new art! (You may want to resize your images if they are too large - pay attention to where the logos are oriented in the DEFAULT .BMP files you extracted. You will see they are actually smaller than the full dimesions of the .BMP file in total. Watch for oversizing your creations. Some video tutorials to watch: https://www.youtube.com/watch?v=XOFcYWoBWyE https://www.youtube.com/watch?v=mYnIwmVFeLw Links: EAGraph - https://www.mvpmods.com/files/file/7917-mvp-baseball-tools/ Installer Thingy - https://www.mvpmods.com/files/file/6580-installer-thingy/ Total Installer Thingy - https://www.mvpmods.com/files/file/6581-total-installer-thingy/ nfshtool - https://www.mvpmods.com/files/file/10752-nfshtool/ -
Version 1.2.2
310 downloads
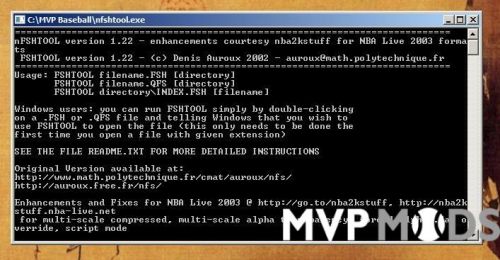
Great tool for extracting and recompressing .FSH files! Double-click any .FSH file and set file associations in Windows to nfshtool.exe. Extract contents of a .FSH file to edit graphics in MVP 2005. Mind the x and y dimensions of files and follow the default naming of files exactly. Recompress the edited files back into a .FSH and then .RAR or .ZIP the .FSH file and place in your main MVP 2005 folder. Use TiT to install. Place nfshtool.exe in your main MVP 2005 directory - -
 KingKelly changed their profile photo
 -
Version 1.3.3.0
108 downloads
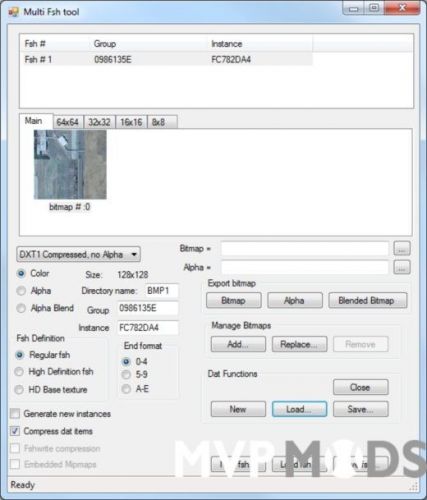
This is a tool that to create multi-image textures. It can also add images to a fsh file in an existing dat. The instance range in "instRange.txt" must be changed to your assigned range. Additional documentation is in the Readme. Requires: .NET Framework 3.5 Client Profile https://www.microsoft.com/en-us/download/details.aspx?displaylang=en&id=14037 Thanks to null45! -
Version 1.5.5.0
93 downloads
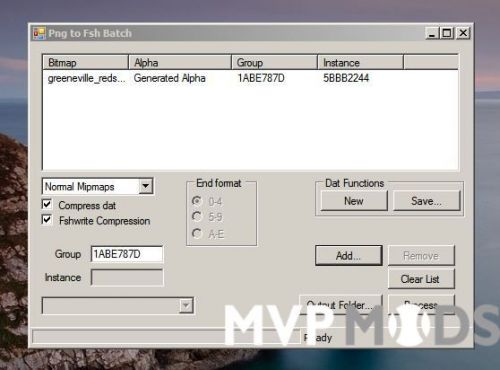
This tool will convert multiple png / bmp images into fsh images. It takes a list of images and converts each image into a fsh file of the same name. The instance range in "instRange.txt" must be changed to your assigned range. Additional documentation is in the Readme. Requires: .NET Framework 3.5 Client Profile https://www.microsoft.com/en-us/download/details.aspx?displaylang=en&id=14037 Thanks to null45! -
Version 1.1.0.0
117 downloads
This plugin allows Adobe® Photoshop® 5.0 or later to load and save Fsh files. Images containing an alpha channel are handled differently depending on the version of Photoshop. Photoshop 5.5 or earlier will add the alpha channel to the channels palette. Photoshop 6.0 or later will use the alpha channel as the layer transparency. The installation instructions are in the Readme. Thanks to null45! -
 The mvp2005.exe is 32-bit.
 -
Version 6.0.4
51 downloads
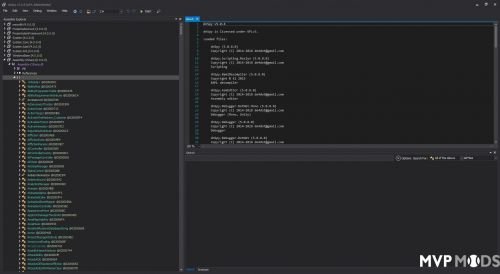
dnSpy is a debugger and .NET assembly editor. You can use it to edit and debug assemblies even if you don't have any source code available. Included are 2 versions. One that uses .NET 4.72 (x86 and x64) and one that uses .NET Core (x64). https://github.com/0xd4d/dnSpy https://github.com/0xd4d/dnSpy/releases